Table of Contents
Introduction: Why Migrating to a Better Hosting Provider Matters
Your website’s hosting provider plays a crucial role in speed, reliability, security, and overall user experience. If your current host struggles with frequent downtime, slow loading times, or limited scalability, it can cost your business leads, conversions, and even search engine rankings.
Migrating to a better hosting provider can transform your website’s performance. Modern hosting solutions offer faster servers, improved uptime, enhanced security features, and better support, ensuring that your visitors have a smooth and reliable experience. For U.S. businesses in 2025, where competition for online attention is fierce, a high-performing website is no longer optional—it’s essential.
Beyond performance, a better host can also provide advanced features such as automatic backups, CDN integration, and developer-friendly tools, making management easier and reducing the risk of data loss.
In this guide, we’ll walk you through why upgrading your hosting is worth it, how to prepare for migration, and step-by-step instructions to move your website safely—without losing traffic or functionality.
Signs You Need a Better Hosting Provider

Knowing when it’s time to switch to a better hosting provider can save your website from performance issues, downtime, and lost traffic. Here are the most common signs that your current host may no longer meet your business needs:
1. Slow Website Loading Times
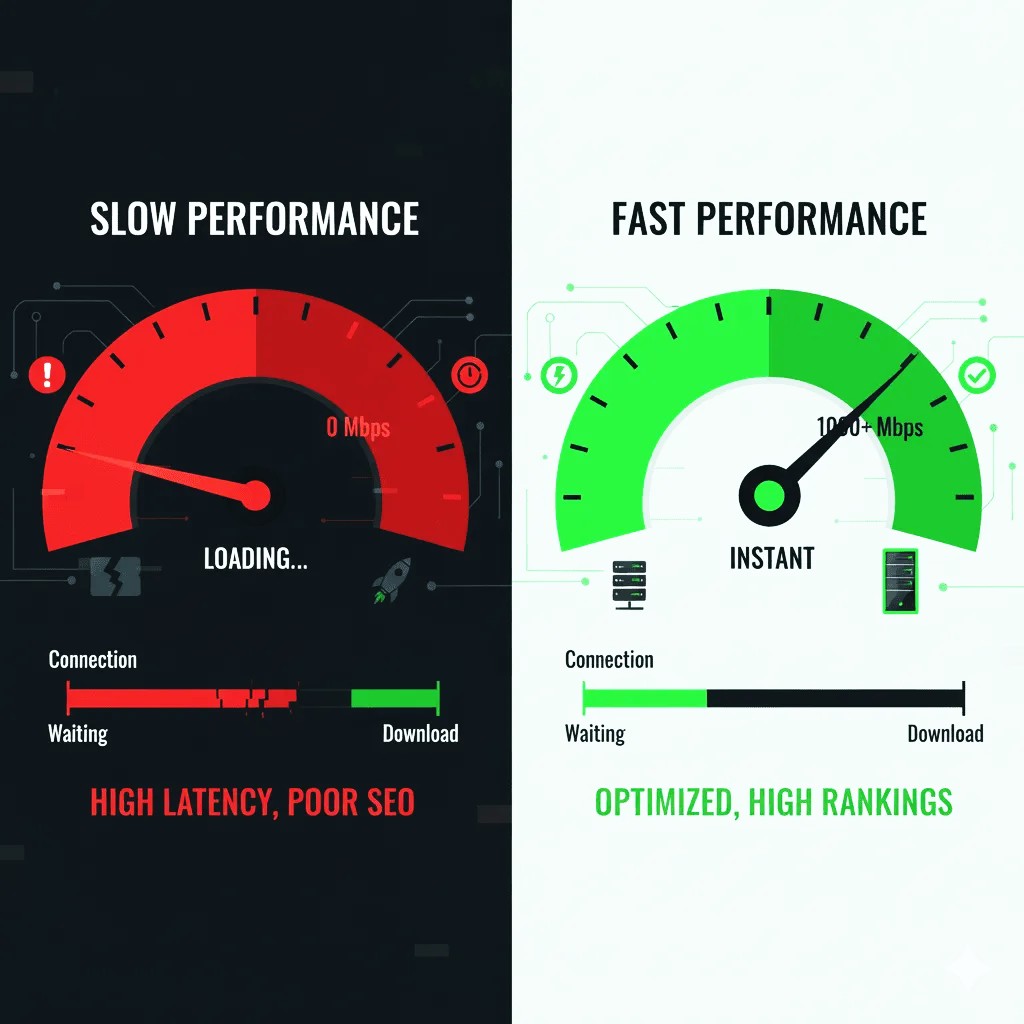
If your pages take more than a few seconds to load, visitors are likely to leave before engaging. Slow websites can also hurt SEO rankings and reduce conversions. A better hosting provider can offer faster servers and performance optimization tools to keep your site snappy.
2. Frequent Downtime or Unreliable Uptime
Unexpected downtime frustrates visitors and can damage your credibility. If your website goes offline regularly or your host does not guarantee high uptime (99.9% or higher), it’s a clear sign to migrate to a more reliable provider.
3. Limited Scalability or Resources
As your website grows, your hosting needs will too. Limited storage, bandwidth, or server resources can prevent you from adding new pages, products, or features. Upgrading to a host that supports scalable solutions ensures your site can grow without issues.
4. Poor Customer Support
When technical issues arise, you need responsive and knowledgeable support. Slow response times or unhelpful support can delay fixes and increase downtime. A reputable hosting provider offers 24/7 support via multiple channels.
5. Security Concerns
If your current host lacks SSL certificates, malware scanning, automated backups, or DDoS protection, your website and data may be at risk. Upgrading to a more secure hosting environment protects your business and your visitors.
6. Outdated Technology or Features
Older hosting solutions may not support latest CMS versions, PHP updates, or modern web technologies, which can cause compatibility issues and limit functionality. A modern hosting provider ensures your website runs on up-to-date and secure infrastructure.
Recognizing these signs early can help you plan a smooth migration to a better hosting provider, improving site speed, reliability, and security while minimizing downtime and disruptions.
Preparing for Website Migration
Before moving your website to a better hosting provider, careful preparation is essential to avoid downtime, data loss, and technical issues. Proper planning ensures a smooth migration and keeps your website running seamlessly. Here’s a complete guide to preparing for migration:
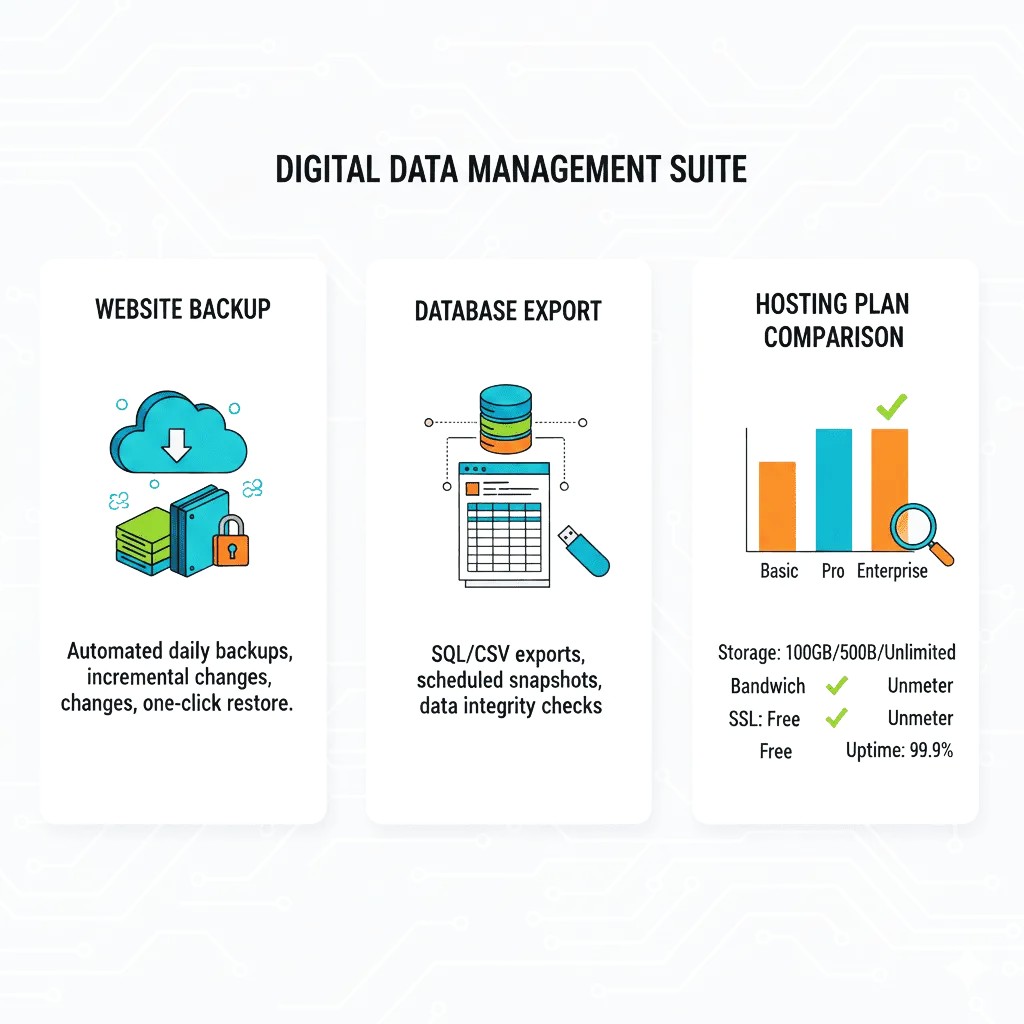
1. Backup Your Website
A full backup is the first and most critical step. This includes:
- Website files: HTML, CSS, JavaScript, images, and media assets.
- Databases: For dynamic websites, back up MySQL or other databases.
- Configuration files: CMS configuration, .htaccess, and server settings.
Tip: Use your hosting control panel, FTP client, or a dedicated backup plugin for CMS-based sites like WordPress. Store the backup locally or in cloud storage.
2. Review Your Current Hosting Plan
Document all details from your current provider:
- Domain registrar and DNS settings
- Email accounts and configurations
- SSL certificates
- Any custom server configurations or scripts
This ensures nothing is missed during migration and helps replicate settings on the new host.
3. Choose a Suitable New Hosting Provider
When selecting a new host, consider:
- Performance & Speed: Look for SSD storage, caching, and fast servers.
- Reliability: Check uptime guarantees (99.9%+).
- Support: 24/7 customer service via chat, phone, or ticketing.
- Scalability: Ability to handle future traffic growth.
- Security Features: SSL, automated backups, malware protection.
4. Prepare Your New Hosting Environment
Before transferring files:
- Set up your new hosting account
- Install your CMS or required software
- Create databases and users with correct permissions
- Configure email accounts if applicable
Having the environment ready reduces downtime during the actual migration.
5. Communicate with Stakeholders
If your website serves clients or employees:
- Inform them about planned migration windows
- Schedule migration during low-traffic hours
- Prepare a temporary “under maintenance” page if needed
Proper preparation lays the foundation for a smooth and error-free migration, minimizing disruptions and ensuring your site performs optimally on the new hosting provider.
EXTRA – YOU CAN READ MORE ABOUT Cloud Hosting vs Shared Hosting: What’s Best for Your First Website BY VISIT THIS ARTICLE
Step-by-Step Website Migration Process
Migrating your website to a better hosting provider might seem technical, but a clear, systematic approach can help you move safely with minimal downtime. Below is a detailed step‑by‑step process, combining best practices from multiple trusted web migration guides. Namr+1
1. Set Up Your New Hosting Environment
✔ Purchase and activate your new hosting plan.
✔ Note your new FTP/SFTP credentials, database access, and control panel details.
✔ Create any necessary email accounts if you’re migrating mail services too.
✔ Enable or request an SSL certificate to keep your site secure from day one. Namr
2. Back Up Your Website (Full Backup)
✔ Download all website files (HTML, PHP, media, scripts).
✔ Export your database if your site uses one (e.g., WordPress, Joomla).
✔ Back up configuration files like .htaccess, custom settings, and email data.
✔ Store backups locally and in a separate cloud location for safety. Namr
3. Prepare Your Database on the New Host
✔ In your new hosting control panel, create a database with a user and password.
✔ Save the database name, username, and password—these will be used in configuration files. Namr
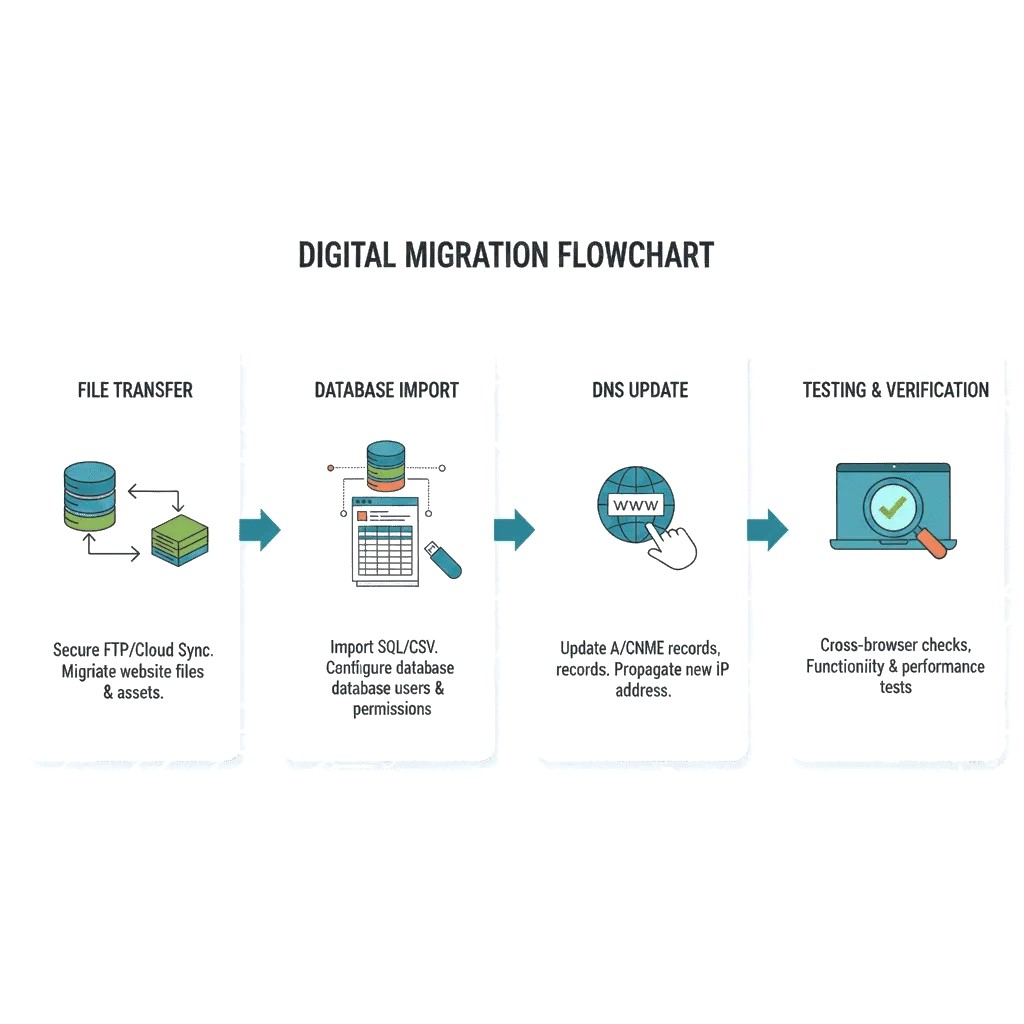
4. Transfer Files to the New Host
✔ Connect to your old host using FTP/SFTP (tools like FileZilla work well).
✔ Download all site files from the old host.
✔ Connect to the new host and upload the same files to the appropriate directory (often public_html).
✔ If your site has a database, use phpMyAdmin or your host’s database tool to import it. quicksprout.com
5. Update Configuration Files
✔ Update your site’s configuration file (e.g., wp-config.php for WordPress) with the new database name, username, password, and host settings.
✔ This tells your site to connect to the database on the new server. quicksprout.com
6. Test Your Site Before Going Live
✔ Use a temporary URL or preview feature provided by your new host to test your website.
✔ Check pages, links, forms, login areas, and plugins/extensions to ensure functionality.
✔ Fix any errors before changing your DNS settings. syzmic.com
7. Update DNS Settings to Point to the New Host
✔ Log into your domain registrar (such as GoDaddy or Namecheap).
✔ Replace the old nameservers with the new hosting provider’s nameservers.
✔ DNS changes typically propagate globally in 24–48 hours. GoDaddy
8. Monitor and Verify Post-Migration
✔ After DNS propagation, visit your live domain to ensure all pages load correctly.
✔ Test forms, email settings, analytics tags, and checkout flows if applicable.
✔ Use tools like WhatsMyDNS.net to check global DNS propagation. Host2Review
9. Cancel Your Old Hosting (After Confirming Stability)
✔ Keep your old hosting plan active for a few days after migration in case any issues arise.
✔ Once you’re confident everything works properly, cancel the old hosting to avoid double billing. Host2Review
By following these steps, you can migrate your website to a better hosting provider while preserving SEO value, minimizing downtime, and ensuring a smooth transition for visitors and search engines alike. quicksprout.com
Common Migration Pitfalls and How to Avoid Them
Even with a careful plan, website migrations can encounter problems that affect uptime, SEO, or functionality. Knowing the common pitfalls and how to avoid them ensures a smooth, error-free migration.
1. Not Backing Up Properly
Problem: Losing website files or databases during migration can lead to permanent data loss.
Solution: Always create full backups of files, databases, configuration files, and email accounts. Store them in multiple locations (local and cloud).
2. Ignoring DNS Propagation Time
Problem: Updating DNS too quickly or not waiting for full propagation can cause users to see the old site or experience downtime.
Solution: Plan the migration during low-traffic hours and monitor DNS changes for 24–48 hours. Use tools like WhatsMyDNS.net to track propagation.
3. Broken Links or Missing Assets
Problem: Images, scripts, or pages may fail to load if paths or permissions aren’t updated.
Solution: After migration, test every page, image, form, and script. Correct file paths and permissions as needed.
4. Email Service Disruption
Problem: Migrating hosts without properly setting up email can result in lost messages.
Solution: Recreate email accounts on the new host, update MX records, and verify email functionality before canceling the old host.
5. Downtime During Migration
Problem: Visitors encounter a “site down” error if the website isn’t accessible.
Solution: Use staging environments or temporary URLs to test the new site before updating DNS. Schedule migration during off-peak hours.
6. Ignoring SSL Certificates and Security Settings
Problem: Without proper SSL setup, your site may appear insecure, causing lost trust and SEO penalties.
Solution: Install or migrate SSL certificates and enable security measures (firewall, malware scanning) on the new host before going live.
7. Forgetting SEO Considerations
Problem: URL changes or missing redirects can hurt search rankings.
Solution: Maintain existing URLs or set up 301 redirects, and ensure all canonical tags, sitemaps, and analytics scripts are updated.
Key Takeaway:
Avoiding these pitfalls ensures that your website migration is smooth, safe, and preserves both user experience and SEO value. Proper planning, testing, and monitoring are critical to success.
Post-Migration Optimization
Once your website is successfully migrated to a better hosting provider, it’s essential to optimize your site to take full advantage of the improved infrastructure. Post-migration optimization ensures faster loading times, better security, higher uptime, and improved SEO. Here’s how to do it step by step:
1. Verify Site Functionality
- Test all pages, links, forms, buttons, and interactive elements to ensure everything works correctly.
- Check that any plugins, scripts, or integrations are functioning as expected.
- Confirm that media files are loading properly.
2. Enable Caching and Content Delivery Networks (CDNs)
- Activate caching solutions on your server or via plugins to speed up page load times.
- Use a CDN (like Cloudflare) to serve content closer to your visitors, reducing latency and improving performance globally.
3. Optimize Images and Media
- Compress images using formats like WebP to reduce file sizes without losing quality.
- Ensure lazy loading is enabled for long pages to improve initial load speed.
4. Update Security Settings
- Verify your SSL certificate is active and redirect all HTTP traffic to HTTPS.
- Enable firewalls, malware scans, and brute-force protection.
- Ensure your CMS and plugins are up to date for security patches.
5. Monitor Performance and Uptime
- Use tools like Google PageSpeed Insights, GTmetrix, or Pingdom to track website speed.
- Set up uptime monitoring services to receive alerts if the site goes down.
6. Test SEO & Analytics Setup
- Check that Google Analytics, Search Console, and tracking scripts are properly installed.
- Verify that canonical URLs, sitemaps, and redirects are intact to preserve SEO value.
7. Review Email Functionality
- Test all migrated email accounts to ensure sending and receiving works properly.
- Confirm that MX records and SPF/DKIM settings are correct.
8. Plan Ongoing Maintenance
- Schedule regular backups of files and databases.
- Periodically check for broken links, outdated plugins, and server updates.
- Continuously monitor site speed and uptime to ensure optimal performance.
Key Takeaway:
Post-migration optimization maximizes the benefits of your new hosting provider. By focusing on performance, security, SEO, and monitoring, you ensure your website remains fast, reliable, and ready to convert visitors into clients.
Conclusion & Call-to-Action
Migrating your website to a better hosting provider is more than just a technical move—it’s an investment in speed, reliability, security, and overall user experience. A fast, secure, and stable website improves visitor engagement, boosts search engine rankings, and increases conversions, helping your business grow in a competitive digital landscape.
By carefully preparing, following a step-by-step migration process, avoiding common pitfalls, and optimizing your site post-migration, you can ensure a smooth transition with minimal downtime. The result is a website that performs at its best, providing a seamless experience for your visitors.
Call-to-Action:
Don’t let slow performance or unreliable hosting hold your website back. Migrate to a better hosting provider today and take advantage of improved speed, uptime, and security. Start planning your migration now to unlock the full potential of your online presence!